Send better emails with Enveloop and Devise


Note: This is part of a series of articles focused on using Enveloop and Ruby on Rails.
Rails developers have been using Devise (one of the most popular open-source authentication systems) for years in their web apps. Its modular approach makes it easy to adopt and implement incremental adoption to authentication needs and add more capabilities as the needs of your app change and mature.
Here are a few examples of functionality Devise provides starting out:
- Basic password-based authentication
- Confirmable email registrations
- Recoverable password mechanisms
- Tracking user sessions and history
All this, of course, requires transactional email and text messages to be sent to an end user, providing important links that guide them through various authentication steps when using your applications.
While support from the Devise community has made it easy to get Devise integrated with your Rails app, once you start sending emails to users, you are tasked with the work of making those emails not only look legitimate to email servers, but also legitimate to end users, matching the design and branding of your company or website.
That's where Enveloop can help!
Enveloop makes it easy for your whole team to design and send crafted emails and text messages. As a developer, it empowers you to send better communication to your users. Plus, you have the option to use Devise, and delegate the content and design to someone else on your team to manage with Enveloop.
In this article, we're demonstrating how easy it is to set up Enveloop to work with Devise in your Rails app. Once implemented, you'll be sending branded emails that look great, arrive with high deliverability, and are easy to track. Enveloop, like Devise, is optimized for a fantastic developer experience.
Creating an Enveloop Account
If you haven't created an Enveloop account yet, it's free to sign up and only takes 30-45 seconds and you are all set to go. You'll need this when going through the steps in this article.
We won't dig into all the features that Enveloop offers to developers. We've shared that elsewhere. Our focus with Enveloop is to provide you with a fantastic service that makes it easy to send emails and texts while reducing complexity in your app.
Using Enveloop with Devise
Once you have created and set up your Enveloop account, integrating with Devise is quite easy. Once complete, you can send emails, via a verified sender or a full domain, from Enveloop, using Devise.
Before stepping through everything, here is the code to a full Enveloop Mailer class that we will be building. If this is the only illustration you need, perfect! However, if you want to dig in and learn a bit more, follow along as we walk through the implementation.
class EnveloopMailer < Devise::Mailer

  include Rails.application.routes.url_helpers

  def confirmation_instructions(user, token)
    enveloop.send_message(
      template: "confirm-account"
      to: user.email
      template_variables: {
        account_url: user_confirmation_url(confirmation_token: token)
      }
    )
  end

  def reset_password_instructions(user, token)
    enveloop.send_message(
      template: "forgot-password",
      to: user.email
      template_variables: {
        reset_url: edit_user_password_url(reset_password_token: token)
      }
    )
  end

  private

  def enveloop
    @enveloop ||= Enveloop::Client.new(api_key: ENVELOOP_API_TOKEN)
  end

end
Getting info from Enveloop
Still with us? Awesome. Let's go.
A couple of quick housekeeping items before we get too far: setting up a sender and knowing where your API key is.
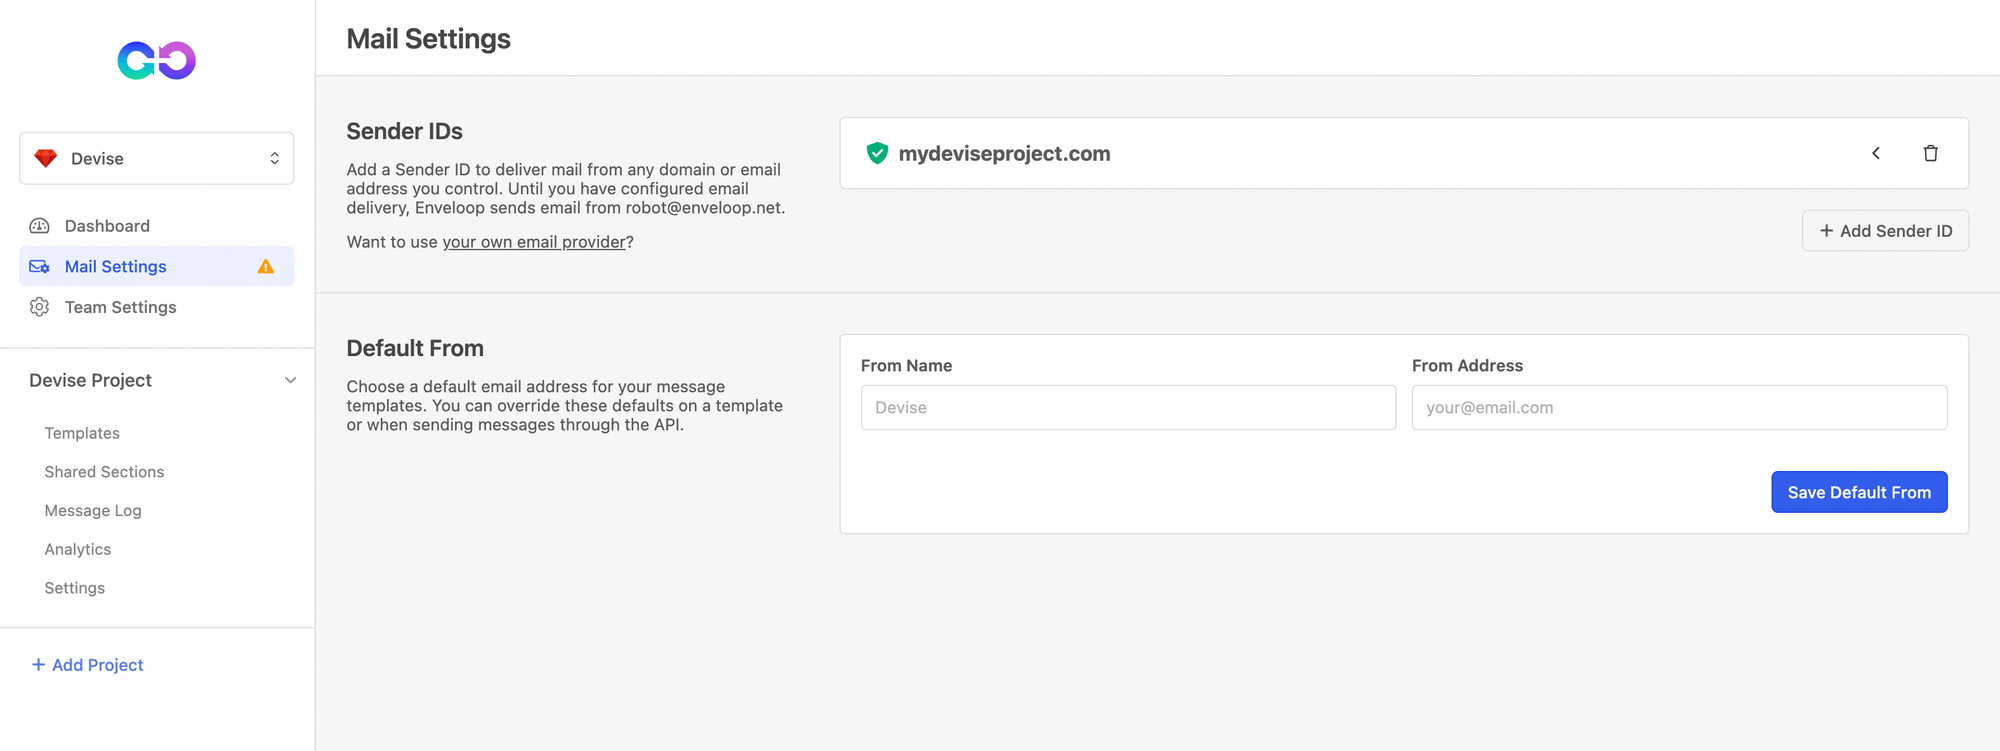
Senders
In Enveloop, you'll need to make sure that you have created a verified sender or set up your domain with Enveloop. If you need help, we created an article called: blah that shows how to do this. It only takes a few moments.
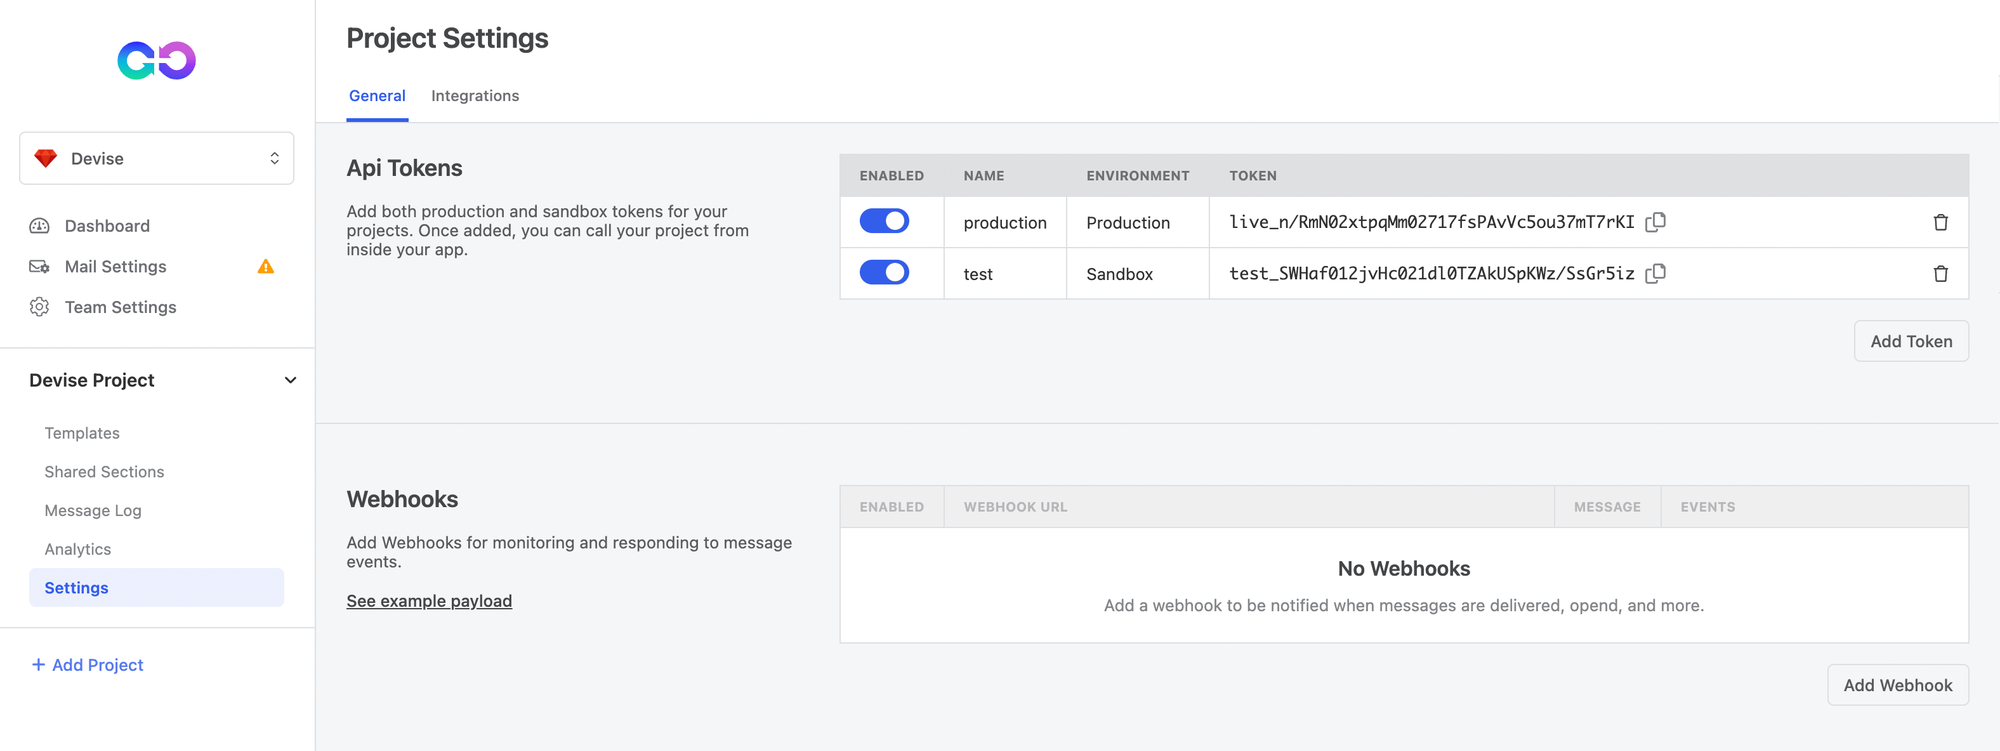
API Keys in Enveloop
One additional piece of information you need to be sure to have is your API key. Enveloop API keys are provided for each Project within your Enveloop account (you can have multiple projects).
In Enveloop, choose a project, select Settings and your API token will be available in the General tab. Of note, you start out with a Production and Test API key. The Test key is sandboxed and great for seeing how Enveloop works without sending any emails into the real world.
Create a Template in Enveloop
Ok, before we talk code, in your Enveloop account, you'll need to be sure that you have a template available. In the example today, we are going to use the action of requesting that a user confirm their account – a user confirmation email.
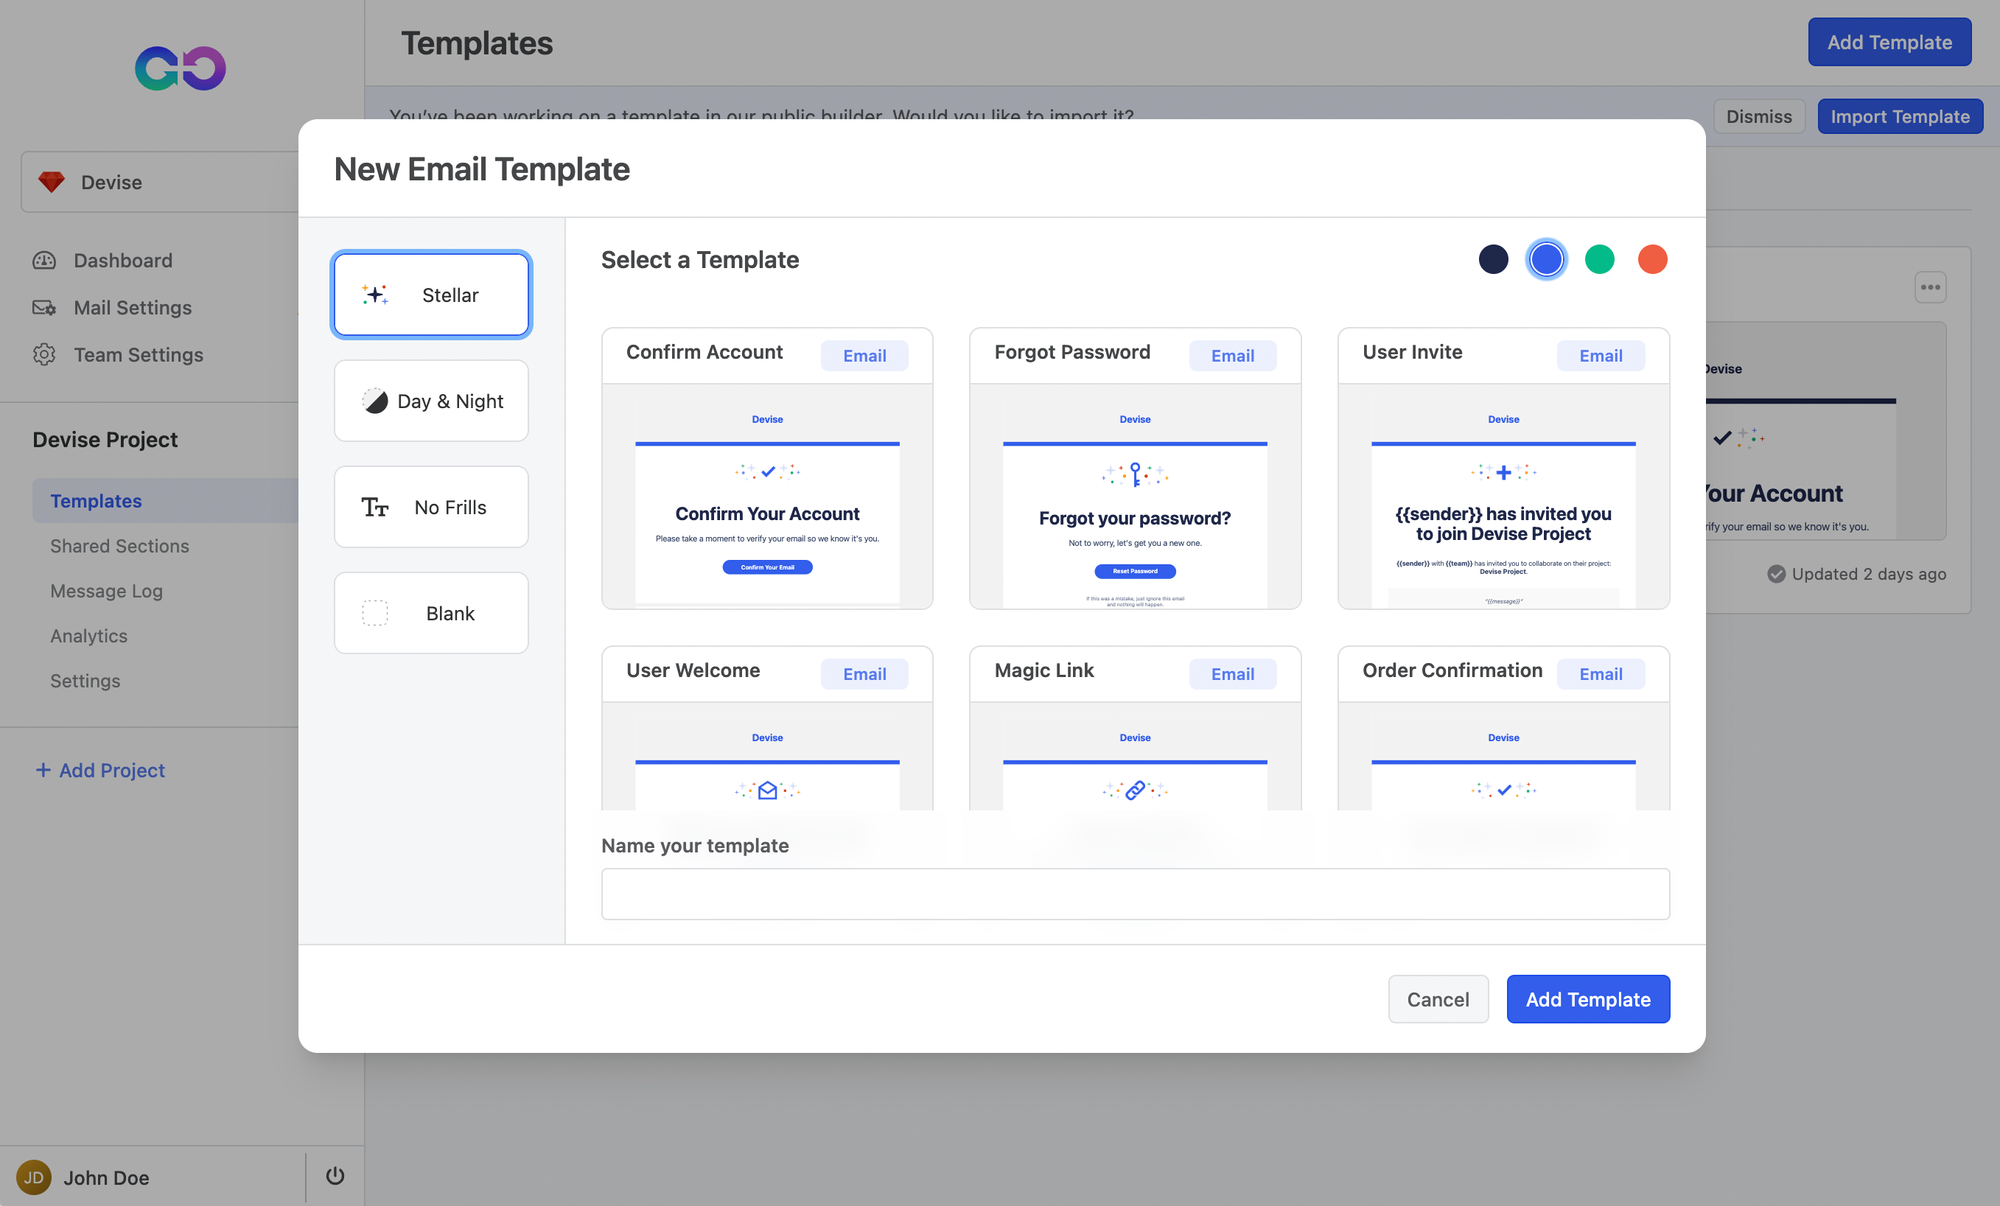
Enveloop includes some nice pre-built templates that you can add, saving you from starting with a blank canvas. In your Enveloop account, for your project, do this:
- Select Templates from the left navigation.
- Select Add Template from the button on the right.
- Select Email templates.
- From the Stellar templates, select Confirm Account.
- Select Add Template.
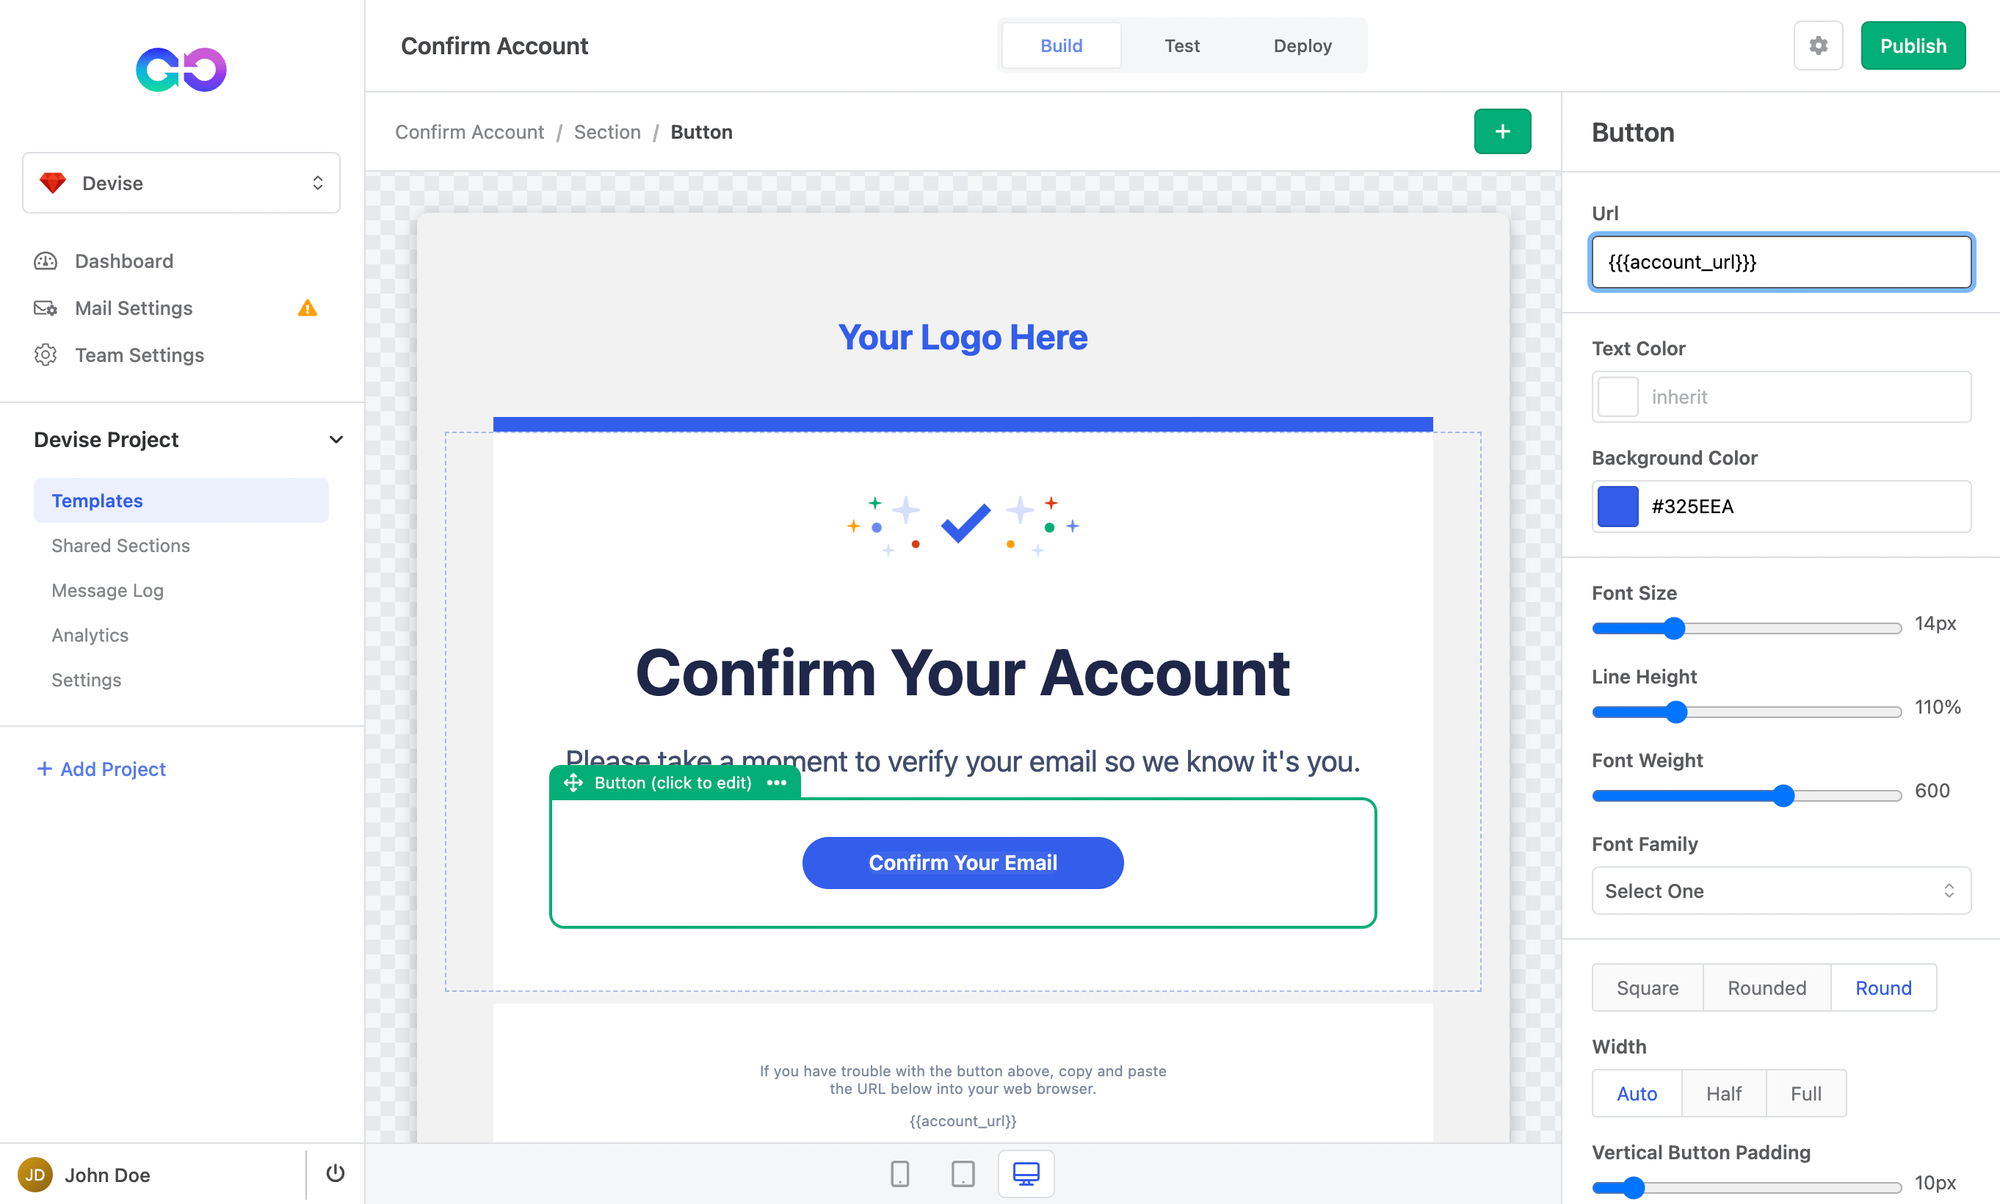
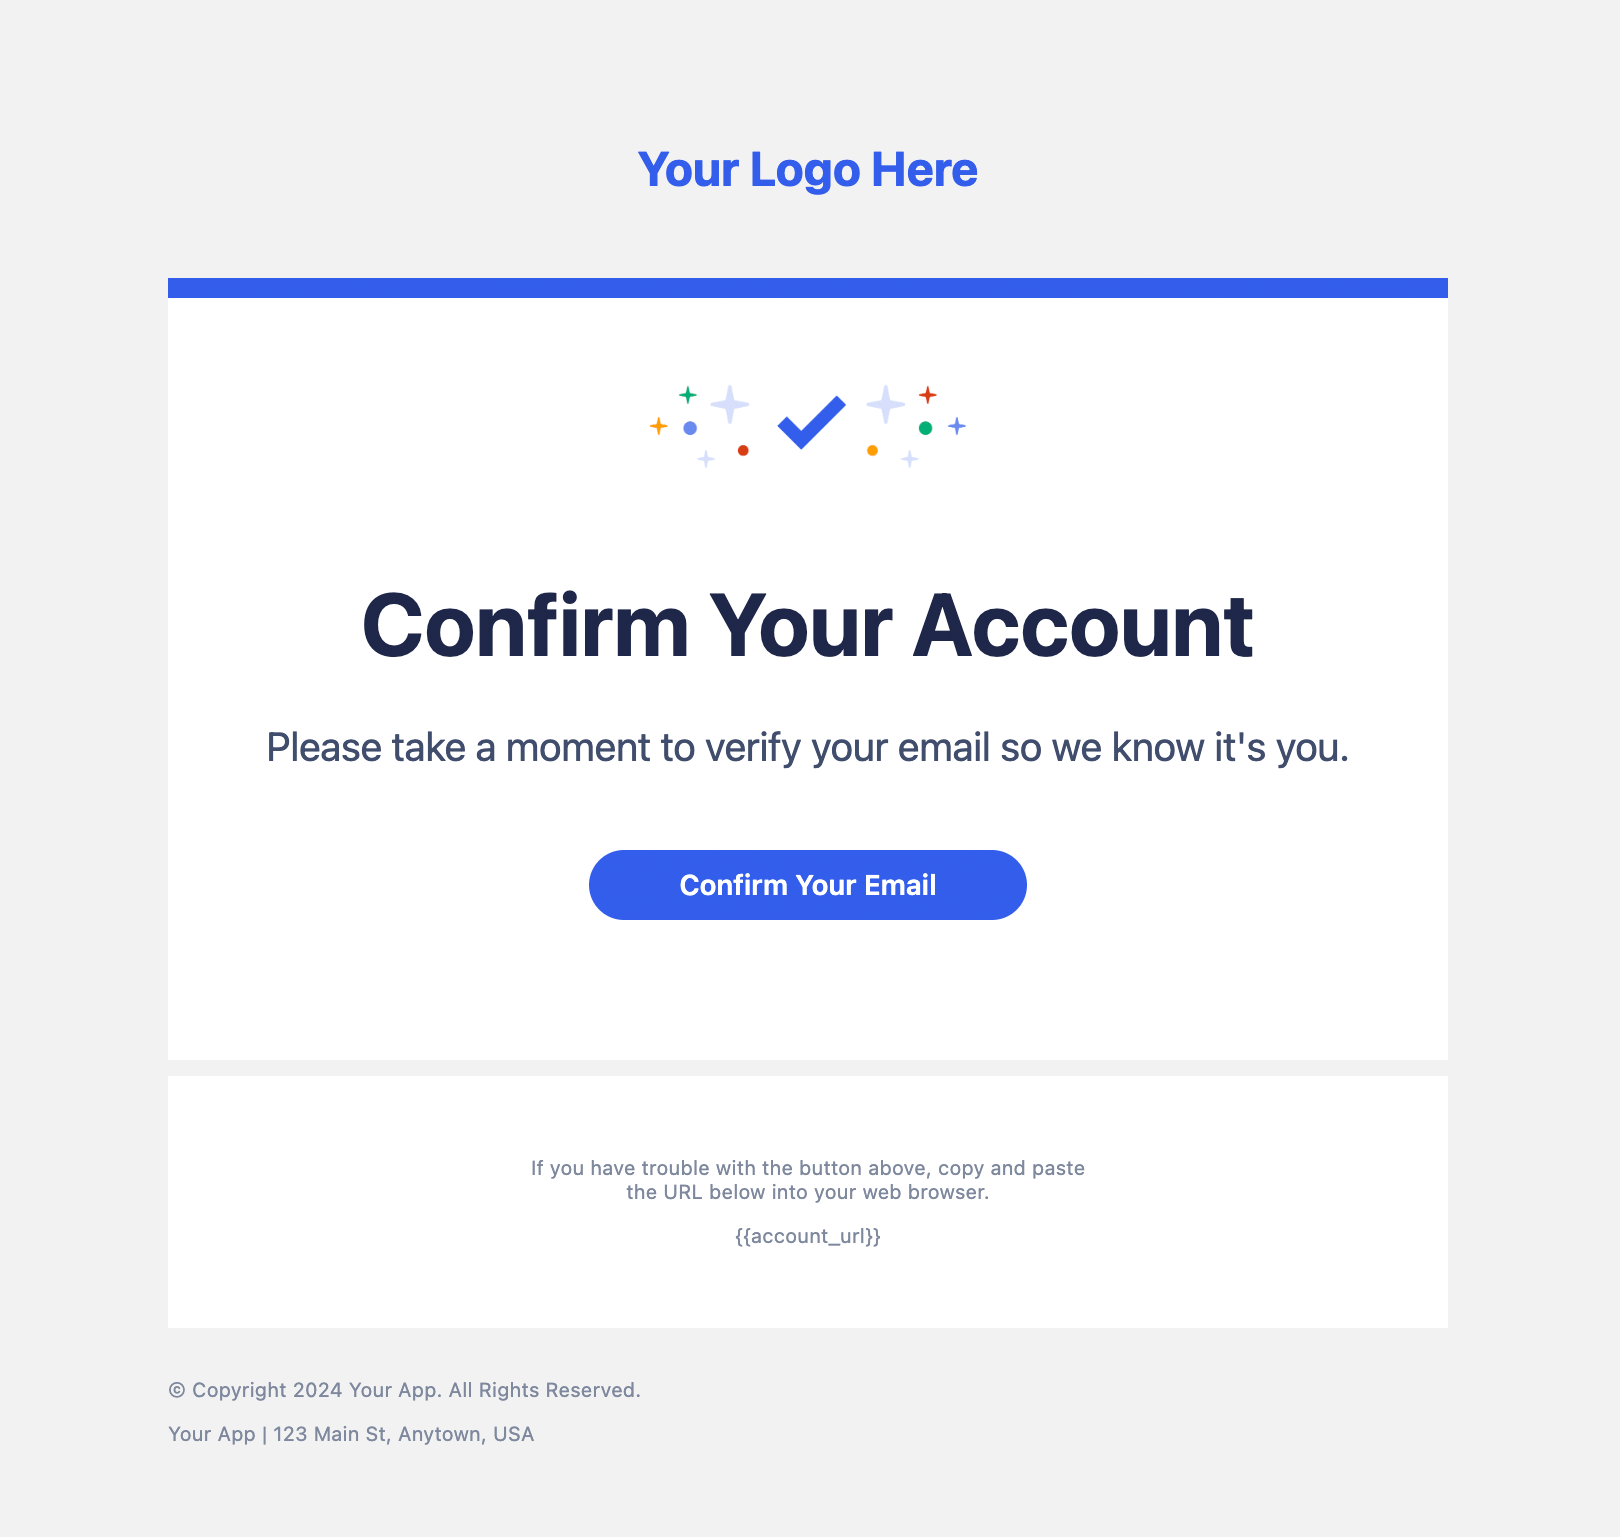
Now, as you can see, you have a nicely designed email template that's fully ready to be sent.
If you click on the Confirm Your Email button in the email template, in the Button properties on the right, you will see a Url input with the value {{{account_url}}}. In the code, we'll be demonstrating how to pass that value, from Devise, to Enveloop before sending out the Confirmation Email.
Ok, now that we have the email template created, and our sending information set up, let's look at the code we'll need in our Rails app.
The Code – Finally
The scenario is simple: A user visits your web application, signs up, and creates an account. You, as a developer, want to send the user an email to confirm the accuracy of the email address submitted. Your template:
Of note, in your Enveloop account, we are calling this the confirm-account template. This can be found in the Deploy tab for this template inside Enveloop. It's not super-important now – just know that we'll use this information later.
Let's set up Devise and Enveloop in your Rails app!
Install the Enveloop Ruby Gem
You can visit the Enveloop Ruby repo at: https://github.com/enveloophq/enveloop-ruby
gem install enveloopInstallation takes only a moment and documentation in the README steps you through how to use the gem. We'll be using some of the calls in the steps that follow.
Set up Devise Confirmable
Assuming you have added Devise to your Rails project and have created a base authentication implementation, your next step is to send out a confirmation email to a user to verify their email address.
This is accomplished using the Confirmable model, provided as part of Devise. The important information we'll need when sending the email is:confirmation_token.
Override the Mailer
The simplest way to do this is to create an EnveloopMailer class that inherits and overrides the default Devise::Mailer.
class EnveloopMailer < Devise::Mailer

  include Rails.application.routes.url_helpers


end
While we are at it, we'll go ahead and add in url_helpers because we are going to need it anyway.
Set up a Connection to Enveloop with the API Key
From here, let's add a private method to create a client connection to Enveloop from our app. This code assumes you created a ENV var for the API token you grabbed from your Enveloop account earlier.
class EnveloopMailer < Devise::Mailer

  include Rails.application.routes.url_helpers


  private

  def enveloop
    @enveloop ||= Enveloop::Client.new(api_key: ENVELOOP_API_TOKEN)
  end

end
Method to Send a Confirmation Email
The next step is to create a method to send the email. As you may have noticed, this combines the capabilities of Devise with the capabilities of the Enveloop gem.
class EnveloopMailer < Devise::Mailer

  include Rails.application.routes.url_helpers

  def confirmation_instructions(user, token)
    enveloop.send_message(
      template: "confirm-account"
      to: user.email
    )
  end


  private

  def enveloop
    @enveloop ||= Enveloop::Client.new(api_key: ENVELOOP_API_TOKEN)
  end

end
Here, we are going to pass in a user record (user) and a token (generated by Devise and associated with the user).
Inside this function, we are going to call the send_message method, available in Enveloop, to send a message using our confirm-acount template. This template is the name of the template that we created in the earlier example.
Calling this template will include all the HTML and CSS saved in the template. But, what about the user-specific (or dynamic data) we need to include in the email? Enveloop has template variables for this.
Template Variables
Enveloop makes it simple to pass in, interact with, and display dynamic data in the form of variables that you can include in your call.
class EnveloopMailer < Devise::Mailer

  include Rails.application.routes.url_helpers

  def confirmation_instructions(user, token)
    enveloop.send_message(
      template: "confirm-account"
      to: user.email
      template_variables: {
        account_url: user_confirmation_url(confirmation_token: token)
      }
    )
  end

  private

  def enveloop
    @enveloop ||= Enveloop::Client.new(api_key: ENVELOOP_API_TOKEN)
  end

end
Using this method, you can see the template_variables object. It takes a a block of JSON and will pass that information each time an email is called and sent. In this example, we are creating and passing a URL that, when the user clicks a button, will confirm their email address.
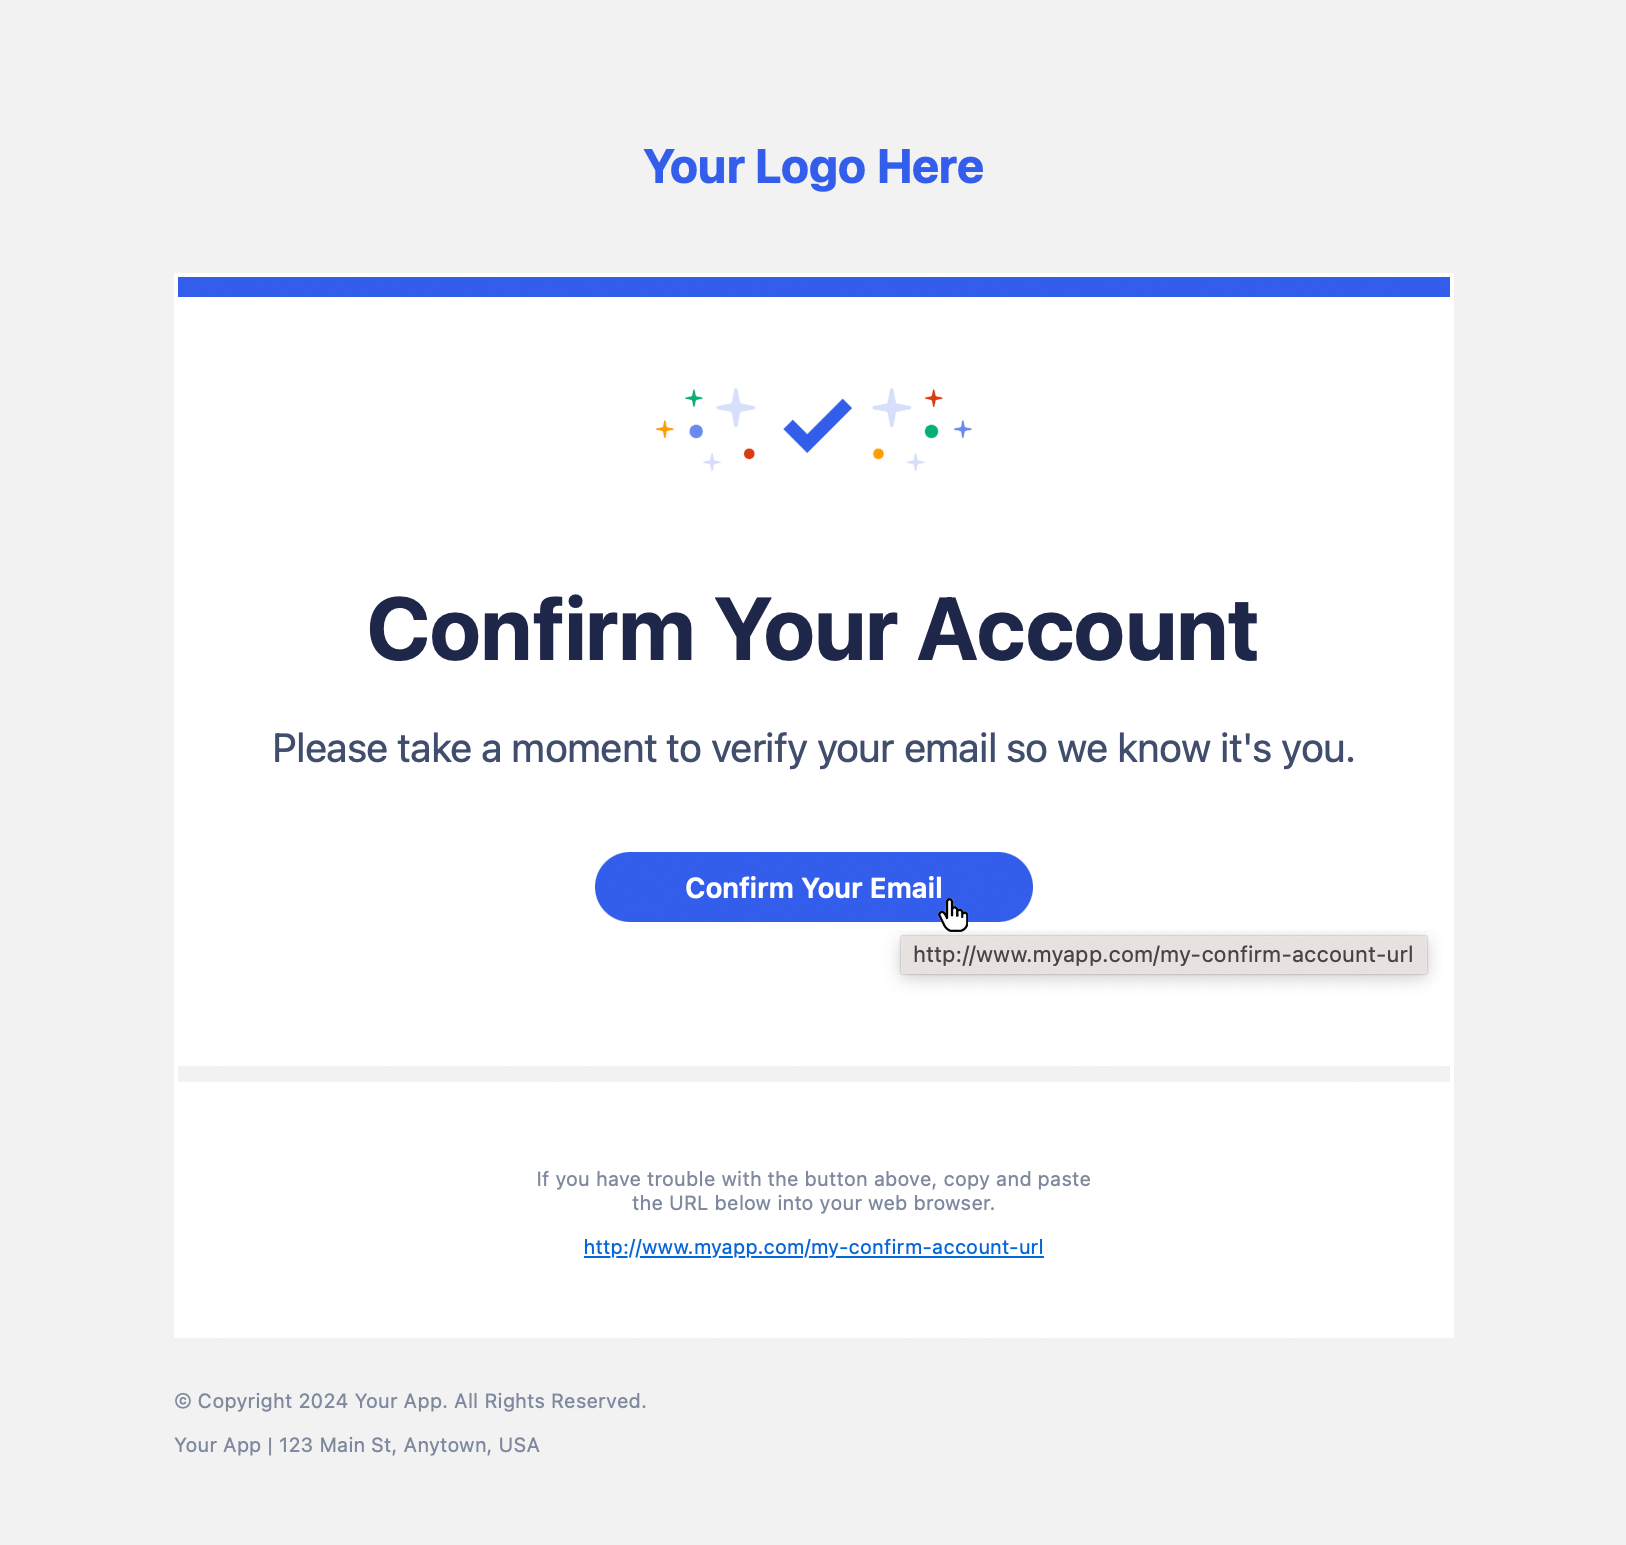
template_variables block and, with Enveloop, you can iterate those objects to generate content, dynamically, in your emails. It's pretty cool!Making the Call
Ok, now that we have our method built, using both Devise and Enveloop functionality, all is ready. Now, in your application, when you have a new sign up and want to send out a confirmation email, you call the confirmation_instructions method, and a beautifully designed email, using Devise-issued tokens, will be sent to your user.
Even better, now you can share that template with others on your team and they can update the content, add in new designs, change the title, etc. without requiring any code changes on your end. Success!
Summary
Hopefully, this example of combining a powerful authentication management tool like Devise with easy email and text templates on Enveloop shows you what is possible and how straight-forward it is to implement.
Contact us at: hey@enveloop.com if you have questions or you'd like for the team to create additional examples using Devise or other authentication tools.
Happy sending!